Step-by-Step Window Screen Repair for Beginners
Window screen repair might seem daunting at first, but with a step-by-step guide, even beginners can tackle this task with ease. The following article aims to answer the most frequently asked questions about window screen repair and provide a comprehensive guide to assist you in successfully completing the project.
What Tools and Materials Do I Need for Window Screen Repair?
Basic Tools for Window Screen Repair
When embarking on a window screen repair, having the right tools is crucial. A utility knife is indispensable for cutting screen material accurately and neatly.
Additionally, a spline roller ensures the screen is securely held in place within the frame.
Scissors can be utilized for precise trimming, enhancing the fit and finish of the repair. Investing in high-quality tools can save time and produce a more professional outcome. Beginners often find that the correct tools simplify the repair process, making it less intimidating.
Understanding Screen Material Options
Choosing the right screen material is vital for a durable repair. Fiberglass screens are popular for their flexibility and resistance to rust, making them ideal for humid environments. Alternatively, aluminum screens are known for their strength and longevity.
Additional Accessories for Effective Repairs
Accessories play a crucial role in achieving a seamless repair. Replacement spline is essential for holding the screen material tightly within the frame. Screen repair kits often include a variety of tools and materials, simplifying the overall repair process.
Corner connectors are useful for stabilizing the frame, especially if you’re working with a larger window. Investing in these accessories ensures you’re well-prepared for any challenges that arise during repair. Having a comprehensive toolkit at your disposal makes the repair task more manageable and efficient.
How Do I Remove the Damaged Window Screen?
Safely Detaching the Screen Frame
Removing the screen frame requires careful technique to prevent damage. Begin by locating the tabs or screws holding the frame in place; these should be gently manipulated to release the frame. It’s important to proceed with caution, especially if the frame is old and fragile.
Preparing the Frame for Repair
Once the frame is removed, preparation is key before installing a new screen. Begin by cleaning the frame to remove any debris or residue from the old spline. This step ensures a smooth surface for reattaching the new screen securely.
Inspect the frame for any cracks or damage that may need attention before proceeding. Repairing or reinforcing weak spots ensures the frame can support the new screen effectively. Proper preparation can greatly enhance the durability and function of your window screen post-repair.
Troubleshooting Common Removal Issues
Encountering issues during frame removal is not uncommon. One frequent issue is a stuck frame due to paint or debris; using a thin tool to gently pry it can help. If the frame is warped, applying gentle heat with a hairdryer can make it more pliable for removal.
What Are the Steps to Install a New Screen?
Measuring and Cutting the New Screen
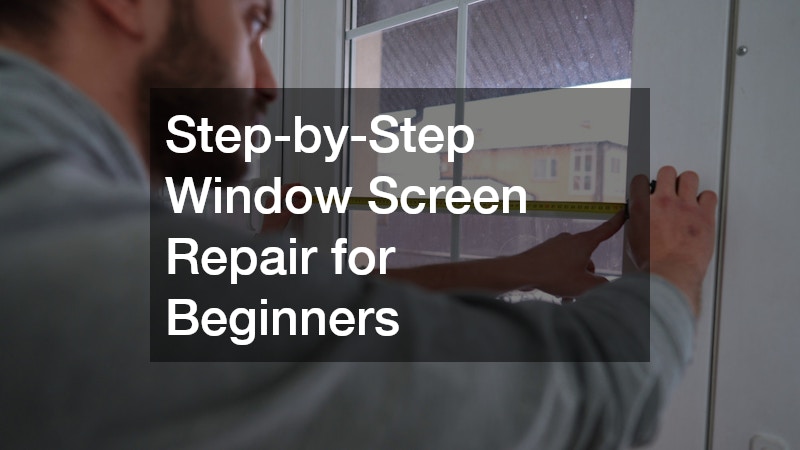
Achieving a perfect fit requires precise measuring and cutting of the new screen material. Begin by laying the screen over the frame and allowing a slight overlap on all sides. Make sure the screen material is without wrinkles before cutting.
A utility knife is ideal for making precise cuts along the edges, ensuring a tidy fit. Always double-check measurements before cutting to avoid any wastage of material. Accurate cutting is essential for the screen’s proper tensioning once installed in the frame.
Attaching the Screen to the Frame
Securing the screen involves placing it evenly over the frame and using a spline roller to tuck the screen into the frame’s groove. The spline holds the screen in place and should be pressed firmly with the roller. Begin at a corner, working your way around the frame slowly.
Finalizing and Testing Your Repair
With the screen secured, it’s time to finalize and reassess the repair job. Trim any excess material neatly with scissors or a utility knife. Reattaching the frame to the window requires careful alignment to ensure a good fit.
Practicing these steps can greatly enhance your proficiency in future repairs. Successful completion boosts confidence in handling similar household maintenance tasks. With experience, tackling more complex repair projects becomes less daunting and more rewarding.
Repairing a window screen is an achievable task for beginners with the right guidance. By understanding the tools required, learning how to remove a damaged screen, and following the steps to install a new one, you can maintain your windows efficiently. With practice, these skills can help in addressing further household maintenance tasks with confidence.


